How to Safely Remove Stickers from Car Paint Without Damage
Stickers on your car can be a fun way to personalize your ride, display your interests, or show support for a cause. However, the day inevitably comes when you want to remove stickers from car paint. Whether it’s an outdated bumper sticker, a faded decal, or simply a change of heart, removing these adhesive decorations requires a delicate touch to avoid damaging the underlying paint. This guide provides a comprehensive, step-by-step approach to remove stickers from car paint safely and effectively, ensuring your car’s finish remains pristine.
Understanding the Risks
Before diving into the removal process, it’s crucial to understand the potential risks involved. Car paint is a multi-layered system, consisting of a primer, base coat, and clear coat. Aggressive removal methods can easily scratch, peel, or dull the clear coat, leading to costly repairs. Factors like the age of the sticker, the type of adhesive used, and the car’s paint condition all play a role in determining the best course of action. Attempting to forcibly peel a sticker without proper preparation is a recipe for disaster. You need to approach the task with patience and the right tools.
Essential Tools and Materials
Having the right tools at your disposal is half the battle. Here’s a list of essential items you’ll need to remove stickers from car paint:
- Heat Gun or Hair Dryer: Gentle heat softens the adhesive, making it easier to peel the sticker. A heat gun is more effective but requires careful handling to avoid overheating the paint. A hairdryer is a safer, albeit slower, alternative.
- Plastic Razor Blades or Scrapers: These are designed to lift the sticker without scratching the paint. Avoid using metal blades, as they can cause significant damage.
- Adhesive Remover: Specialized adhesive removers are formulated to dissolve the sticky residue left behind by stickers. Choose a product specifically designed for automotive use to ensure it won’t harm the paint.
- Microfiber Cloths: Soft, lint-free microfiber cloths are essential for wiping away adhesive remover and polishing the paint.
- Detailing Spray or Car Wax: After removing the sticker and adhesive, detailing spray or wax will help restore the paint’s shine and protect it from the elements.
- Warm, Soapy Water: For cleaning the area before and after sticker removal.
- Gloves: To protect your hands from adhesive remover and other chemicals.
Step-by-Step Guide to Removing Stickers
Follow these steps carefully to remove stickers from car paint without causing damage:
Step 1: Clean the Area
Start by thoroughly cleaning the area around the sticker with warm, soapy water. This removes dirt, grime, and other contaminants that could scratch the paint during the removal process. Rinse the area and dry it with a clean microfiber cloth.
Step 2: Apply Heat
Using a heat gun or hairdryer, gently heat the sticker for a few seconds. Hold the heat source a few inches away from the surface and move it back and forth to avoid overheating. The goal is to soften the adhesive, not to melt the sticker. Test the edges of the sticker to see if they are becoming easier to lift. If you’re using a heat gun, be extremely cautious. Overheating can damage the paint.
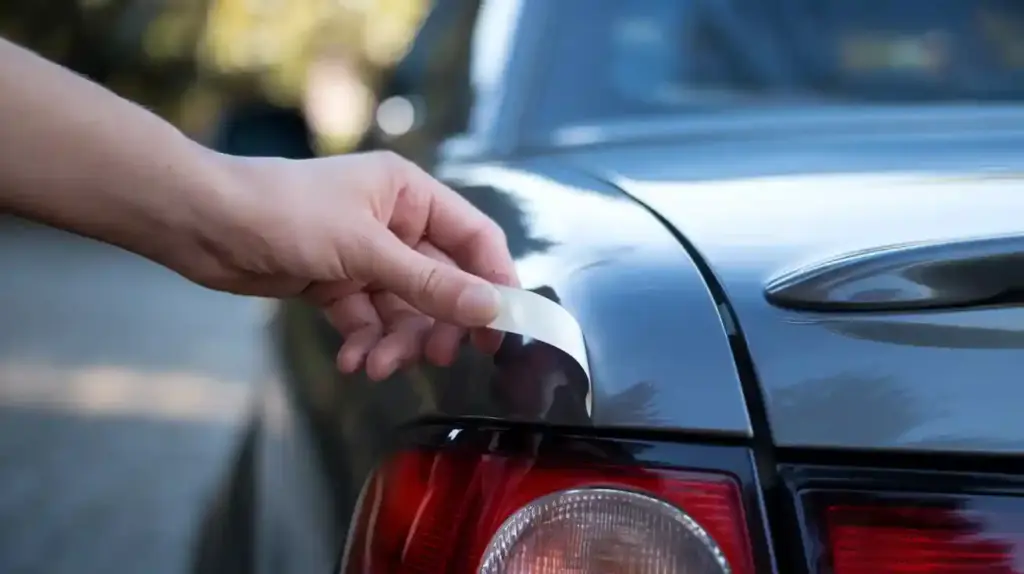
Step 3: Lift the Edges
Once the sticker is heated, use a plastic razor blade or scraper to gently lift an edge of the sticker. Work slowly and carefully, applying gentle pressure to avoid scratching the paint. If the sticker is resistant, apply more heat and try again. Avoid forcing the sticker, as this can tear it and leave behind more residue. Try to peel the sticker back on itself, keeping the peeled portion close to the surface. This minimizes the angle of pull and reduces the risk of damaging the paint.
Step 4: Peel the Sticker
Continue to heat and peel the sticker gradually, working your way across the entire surface. If the sticker tears, use the plastic razor blade to carefully lift the remaining pieces. Patience is key here. Rushing the process can lead to frustration and potential damage. Remember, you want to remove stickers from car paint without any lasting marks. If you encounter stubborn spots, reapply heat and try again.
Step 5: Remove Adhesive Residue
After removing the sticker, you’ll likely be left with some adhesive residue. Apply an automotive-specific adhesive remover to the residue, following the manufacturer’s instructions. Let the remover sit for a few minutes to dissolve the adhesive. Then, use a clean microfiber cloth to gently wipe away the residue. You may need to repeat this process several times to completely remove the adhesive. Avoid using harsh chemicals or abrasive cleaners, as they can damage the paint. [See also: Best Car Cleaning Products]
Step 6: Clean and Polish
Once the adhesive residue is gone, clean the area again with warm, soapy water to remove any remaining traces of the adhesive remover. Rinse the area and dry it with a clean microfiber cloth. Finally, apply a detailing spray or car wax to restore the paint’s shine and protect it from the elements. This will help blend the area where the sticker was with the surrounding paint, making it less noticeable.
Alternative Methods for Removing Stickers
While the heat and scraper method is generally the most effective, there are a few alternative methods you can try if you’re having trouble. These methods are often less aggressive and may be suitable for more delicate paint finishes.
Using WD-40
WD-40 is a versatile lubricant that can also be used to dissolve adhesive residue. Spray a small amount of WD-40 onto the sticker and let it sit for a few minutes. Then, use a plastic razor blade to gently lift the edges of the sticker and peel it away. Wipe away any remaining WD-40 with a clean microfiber cloth. WD-40 can be effective for removing stickers, but it’s important to test it on an inconspicuous area of the paint first to ensure it doesn’t cause any discoloration.
Using Isopropyl Alcohol
Isopropyl alcohol, also known as rubbing alcohol, is another solvent that can help dissolve adhesive. Apply a small amount of isopropyl alcohol to a microfiber cloth and gently rub it onto the sticker. Let it sit for a few minutes, then use a plastic razor blade to lift the edges of the sticker. Wipe away any remaining alcohol with a clean microfiber cloth. Isopropyl alcohol is generally safe for car paint, but it’s still a good idea to test it on an inconspicuous area first.
Using a Magic Eraser
Magic Erasers are abrasive cleaning pads that can be surprisingly effective at removing stickers and adhesive residue. Wet the Magic Eraser and gently rub it onto the sticker, using a circular motion. Be careful not to apply too much pressure, as the abrasive surface can scratch the paint. Test the Magic Eraser on an inconspicuous area first to ensure it doesn’t cause any damage. While this can help remove stickers from car paint, it requires caution.
Preventing Future Sticker Problems
Once you’ve successfully remove stickers from car paint, you can take steps to prevent future problems. Consider using removable stickers or decals that are designed to be easily removed without leaving residue. These stickers typically use a less aggressive adhesive that is less likely to damage the paint. You can also apply a clear protective film over the sticker to protect the paint from UV damage and make it easier to remove in the future.
When to Seek Professional Help
If you’re uncomfortable removing stickers from your car’s paint yourself, or if you’re dealing with a particularly stubborn sticker, it’s always best to seek professional help. Auto detailing shops have the tools and expertise to safely remove stickers from car paint without causing damage. They can also repair any minor scratches or imperfections that may have occurred during the removal process. Paying for professional removal can save you time, effort, and potentially costly repairs in the long run.
Conclusion
Removing stickers from your car’s paint requires patience, the right tools, and a gentle touch. By following these steps, you can safely remove stickers from car paint without damaging the finish. Remember to always test any cleaning products or solvents on an inconspicuous area first, and don’t be afraid to seek professional help if you’re unsure about any part of the process. With a little care and attention, you can keep your car looking its best, even after removing unwanted stickers.
