How to Get Caulk Off: A Comprehensive Guide
Caulk is a sealant used in various applications, from bathrooms and kitchens to windows and siding. Over time, caulk can become discolored, cracked, or simply outdated. Knowing how to get caulk off efficiently and effectively is essential for maintaining the appearance and integrity of your home. This guide provides a step-by-step approach to removing old caulk, preparing the surface, and ensuring a clean slate for new sealant application.
Why Remove Old Caulk?
Before diving into the how to get caulk off process, it’s important to understand why removal is necessary. Old caulk can harbor mold and mildew, leading to health concerns and structural damage. Cracked or deteriorated caulk also loses its ability to create a watertight seal, potentially causing leaks and water damage behind walls or under fixtures. Replacing old caulk not only improves the aesthetics of your home but also protects it from moisture-related issues. If you are looking to update your bathroom or kitchen, removing the old caulk and replacing it is a crucial step.
Tools and Materials Needed
Gathering the right tools and materials will make the how to get caulk off process much smoother. Here’s a list of essentials:
- Utility Knife or Caulk Removal Tool: These are designed to slice through caulk without damaging the surrounding surfaces.
- Putty Knife or Scraper: Use these to scrape away softened or loosened caulk.
- Heat Gun or Hair Dryer: Applying heat can soften the caulk, making it easier to remove.
- Solvent or Caulk Remover: Chemical solvents help break down the caulk’s adhesive properties.
- Soft Cloth or Sponge: For applying solvents and cleaning surfaces.
- Safety Glasses and Gloves: Protect your eyes and skin from chemicals and debris.
- Vacuum Cleaner: To clean up loose caulk and debris.
- Mineral Spirits or Rubbing Alcohol: For final cleaning and surface preparation.
Step-by-Step Guide: How to Get Caulk Off
Follow these steps for effective caulk removal:
Step 1: Soften the Caulk
The first step in how to get caulk off is to soften it. This can be done using a heat gun or hair dryer. Hold the heat source a few inches away from the caulk and move it along the length of the bead. The goal is to soften the caulk without overheating or damaging the surrounding surfaces. Alternatively, you can apply a caulk remover solvent according to the manufacturer’s instructions. These solvents typically require some dwell time to penetrate and break down the caulk.
Step 2: Cut Through the Caulk
Using a utility knife or caulk removal tool, carefully score along both edges of the caulk bead. Apply firm, even pressure to cut through the caulk without gouging the adjacent surfaces. If you’re working near delicate materials like tile or glass, be extra cautious to avoid scratches. A caulk removal tool is specifically designed with a rounded edge to minimize the risk of damage. This step is critical in understanding how to get caulk off cleanly.
Step 3: Scrape Away the Caulk
Once the caulk is softened and scored, use a putty knife or scraper to gently pry it away from the surface. Start at one end of the caulk bead and work your way along, applying steady pressure. If the caulk is particularly stubborn, you may need to reapply heat or solvent. Avoid using excessive force, as this can damage the underlying material. The key to knowing how to get caulk off effectively is patience and persistence.
Step 4: Remove Residual Caulk
After removing the bulk of the caulk, there may be some residual residue left behind. To remove this, apply a small amount of mineral spirits or rubbing alcohol to a soft cloth and gently scrub the area. The solvent will help dissolve any remaining caulk and adhesive. Be sure to test the solvent on an inconspicuous area first to ensure it doesn’t damage the surface. This is an important step in how to get caulk off completely.
Step 5: Clean and Prepare the Surface
Before applying new caulk, it’s essential to thoroughly clean and prepare the surface. Use a clean cloth or sponge to remove any remaining solvent and debris. Allow the surface to dry completely before proceeding. For optimal adhesion, you may want to lightly sand the area to create a slightly rough texture. This ensures the new caulk will bond properly. This final step is crucial for ensuring the longevity and effectiveness of the new caulk application, completing the how to get caulk off and replace process.
Dealing with Different Types of Caulk
The how to get caulk off process can vary slightly depending on the type of caulk you’re dealing with. Here’s a brief overview of common caulk types and specific considerations for each:
Silicone Caulk
Silicone caulk is commonly used in bathrooms and kitchens due to its excellent water resistance. However, it can be more challenging to remove than other types of caulk. Solvents specifically designed for silicone caulk removal are often necessary. Be sure to follow the manufacturer’s instructions carefully and allow sufficient dwell time for the solvent to work. [See also: Best Silicone Sealants for Bathrooms]
Acrylic Caulk
Acrylic caulk is easier to remove than silicone caulk and is often used for general-purpose sealing. Heat and a sharp utility knife are usually sufficient for removing acrylic caulk. Solvents can also be used, but they may not be necessary. Acrylic caulk is paintable, making it a versatile choice for various applications.
Latex Caulk
Latex caulk is similar to acrylic caulk in terms of ease of removal. It’s often used for sealing around windows and doors. Heat, a utility knife, and a scraper are typically all that’s needed to remove latex caulk. Like acrylic caulk, latex caulk is paintable and offers good adhesion to various surfaces.
Tips for Easier Caulk Removal
Here are some additional tips to make the how to get caulk off process easier and more efficient:
- Work in a Well-Ventilated Area: When using solvents, ensure adequate ventilation to avoid inhaling harmful fumes.
- Take Your Time: Rushing the process can lead to mistakes and damage to surrounding surfaces.
- Use the Right Tools: Investing in quality caulk removal tools can make a significant difference in the ease and effectiveness of the process.
- Practice on an Inconspicuous Area: If you’re unsure about a particular technique or solvent, practice on a small, hidden area first.
- Consider Professional Help: If you’re dealing with a large or complex caulk removal project, consider hiring a professional contractor.
Preventing Future Caulk Problems
Once you’ve successfully removed the old caulk and applied new caulk, it’s important to take steps to prevent future problems. Here are some tips:
- Choose High-Quality Caulk: Select a caulk that is specifically designed for the intended application and environment.
- Properly Prepare the Surface: Ensure the surface is clean, dry, and free of debris before applying new caulk.
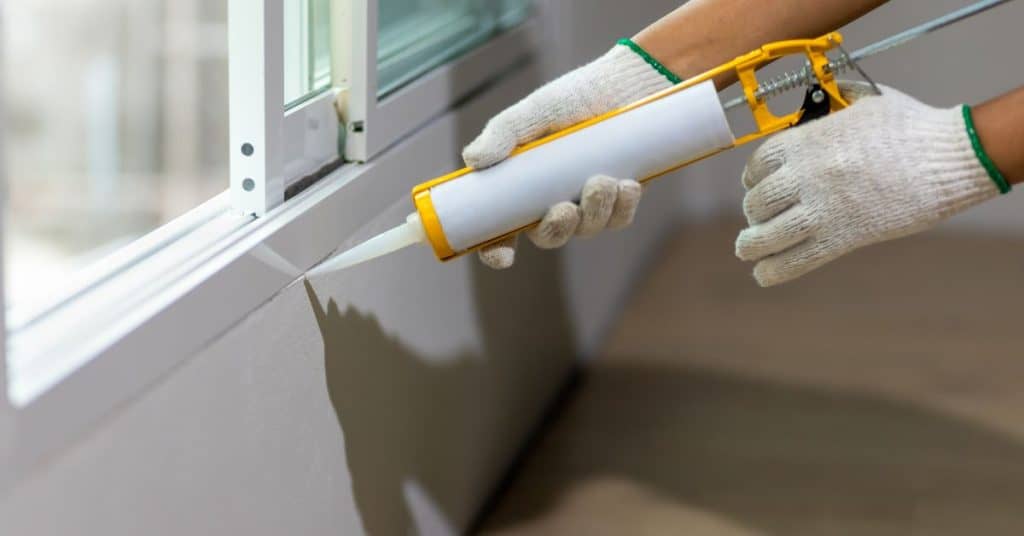
- Apply Caulk Evenly: Use a caulk gun to apply a consistent bead of caulk along the joint.
- Smooth the Caulk: Use a wet finger or a caulk smoothing tool to create a smooth, professional finish.
- Maintain Regular Inspections: Regularly inspect the caulk for signs of damage or deterioration and address any issues promptly.
Conclusion
Knowing how to get caulk off is a valuable skill for any homeowner. By following the steps outlined in this guide, you can effectively remove old caulk, prepare the surface, and ensure a clean slate for new sealant application. Remember to use the right tools and materials, work carefully, and take your time. With a little patience and effort, you can achieve professional-looking results and protect your home from moisture-related issues. Understanding the nuances of how to get caulk off will save you time and money in the long run, ensuring your home remains in top condition. Whether you’re dealing with silicone, acrylic, or latex caulk, the principles remain the same: soften, cut, scrape, clean, and prepare. Embrace the process, and you’ll be a caulk removal expert in no time!
