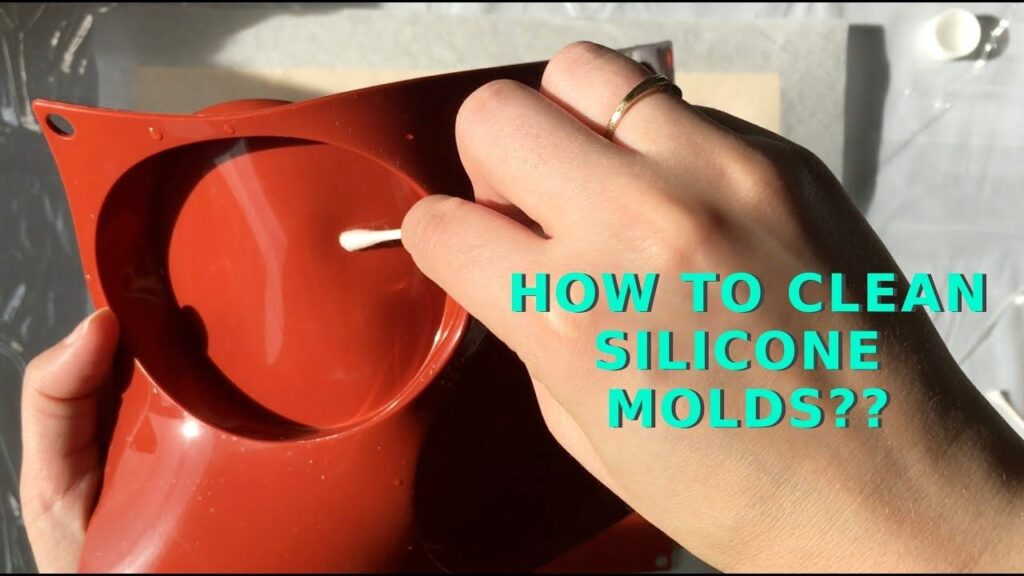
How to Clean Off Silicone: A Comprehensive Guide
Silicone, a versatile and durable material, finds its use in various applications, from sealing bathtubs and windows to crafting and DIY projects. However, removing silicone, whether it’s old sealant, adhesive residue, or accidental spills, can be a frustrating task. This comprehensive guide provides a range of effective methods and techniques on how to clean off silicone from different surfaces, ensuring a clean and damage-free result. We’ll explore everything from readily available household items to specialized silicone removal products, offering step-by-step instructions and expert tips. Learning how to clean off silicone properly will save you time and frustration, and ensure a professional finish to your projects.
Understanding Silicone and Why Removal is Necessary
Silicone’s unique properties, such as its water resistance and flexibility, make it an excellent sealant and adhesive. However, these same properties can make it difficult to remove. Over time, silicone can deteriorate, crack, or become discolored, necessitating its removal and replacement. Furthermore, accidental spills or misapplications during DIY projects can leave unwanted silicone residue. Knowing how to clean off silicone effectively is crucial for maintaining the appearance and functionality of various surfaces.
Essential Tools and Materials
Before diving into the cleaning process, gather the necessary tools and materials. Having everything on hand will streamline the process and prevent unnecessary delays. Here’s a list of essential items:
- Plastic Scraper or Putty Knife: Use these to gently lift and scrape away the silicone. Avoid metal scrapers, as they can scratch delicate surfaces.
- Razor Blade or Utility Knife: For tougher silicone residue, a sharp blade can be helpful. Exercise caution when using these tools to avoid injury or damage to the underlying surface.
- Soft Cloths or Sponges: These are essential for wiping away loosened silicone and cleaning the surface.
- Isopropyl Alcohol (Rubbing Alcohol): A common solvent that can help dissolve silicone.
- White Vinegar: Another effective household solvent for softening and removing silicone.
- Silicone Remover Products: Commercially available silicone removers are specifically formulated to break down silicone bonds.
- Heat Gun or Hair Dryer (Optional): Applying heat can soften the silicone, making it easier to scrape away. Use with caution on heat-sensitive surfaces.
- Safety Glasses and Gloves: Protect your eyes and skin from chemicals and sharp tools.
Step-by-Step Guide: How to Clean Off Silicone
The following steps outline a general process for removing silicone. Adjust the techniques based on the type of surface and the severity of the silicone residue.
Preparation
Start by cleaning the area around the silicone with soap and water to remove any dirt or debris. This will allow the solvent to work more effectively. Ensure the area is completely dry before proceeding.
Softening the Silicone
Apply heat to the silicone using a heat gun or hair dryer on a low setting. Move the heat source back and forth to avoid overheating the surface. Alternatively, soak a cloth in hot water and apply it to the silicone for several minutes. This will help soften the silicone and make it easier to remove. Applying a softening agent is crucial to how to clean off silicone without damaging the underlying surface.
Scraping Away the Silicone
Using a plastic scraper or putty knife, carefully begin to lift and scrape away the softened silicone. Work at a shallow angle to avoid scratching the surface. For stubborn areas, use a razor blade or utility knife, holding it at a low angle and applying gentle pressure. Be extremely careful not to cut yourself or damage the surface. This is a key step in how to clean off silicone effectively.
Applying a Solvent
Once you’ve removed as much silicone as possible with the scraper, apply a solvent such as isopropyl alcohol or white vinegar to the remaining residue. Let the solvent sit for several minutes to allow it to penetrate the silicone. For particularly tough residue, consider using a commercially available silicone remover, following the manufacturer’s instructions carefully. The right solvent is critical to how to clean off silicone completely.
Wiping and Cleaning
After the solvent has had time to work, use a clean cloth or sponge to wipe away the loosened silicone residue. You may need to repeat the solvent application and wiping process several times to remove all traces of silicone. Once the surface is clean, wipe it down with soap and water to remove any remaining solvent. This final cleaning stage is important for how to clean off silicone properly.
Specific Surfaces and Considerations
The method for how to clean off silicone may vary depending on the surface you’re working with. Here are some specific considerations for common surfaces:
Glass and Mirrors
Use a razor blade with extreme caution to avoid scratching the glass. Apply a small amount of silicone remover and let it sit for a few minutes before wiping away. Clean the glass with a glass cleaner to remove any streaks.
Plastic
Avoid using harsh solvents or abrasive cleaners, as they can damage the plastic. Isopropyl alcohol is generally safe for most plastics. Test the solvent in an inconspicuous area first to ensure it doesn’t cause discoloration or damage.
Tile and Grout
Use a grout scraper to remove silicone from grout lines. Apply a silicone remover to soften the remaining residue before wiping away. Be careful not to damage the tile surface.
Painted Surfaces
Test the solvent in an inconspicuous area to ensure it doesn’t damage the paint. Use a plastic scraper to avoid scratching the paint. If the paint is damaged, you may need to touch it up after removing the silicone.
Fabric
Removing silicone from fabric can be challenging. Try blotting the area with a clean cloth soaked in isopropyl alcohol. You may need to repeat the process several times. If the silicone is deeply embedded, consider taking the fabric to a professional cleaner.
Tips for Preventing Silicone Build-Up
Prevention is always better than cure. Here are some tips to minimize silicone build-up and make future removal easier:
- Apply Silicone Sparingly: Use only the amount of silicone necessary for the job. Overapplication makes removal more difficult.
- Clean Up Spills Immediately: Wipe up any spills or excess silicone before it has a chance to cure.
- Use the Right Type of Silicone: Choose the appropriate type of silicone for the application. Some silicones are easier to remove than others.
- Regular Maintenance: Inspect silicone seals regularly and replace them as needed to prevent deterioration and cracking.
Choosing the Right Silicone Remover
When dealing with persistent silicone residue, a dedicated silicone remover can be a valuable asset. These products are formulated to break down the chemical bonds of silicone, making it easier to remove. However, it’s essential to choose the right remover for your specific needs and surface type.
Types of Silicone Removers
Silicone removers come in various forms, including gels, sprays, and liquids. Gel-based removers are ideal for vertical surfaces, as they cling to the silicone and prevent dripping. Spray-on removers are convenient for larger areas, while liquid removers are suitable for soaking smaller items.
Factors to Consider When Choosing a Silicone Remover
- Surface Compatibility: Ensure the remover is compatible with the surface you’re cleaning. Some removers can damage certain materials, such as plastic or painted surfaces.
- Odor: Some silicone removers have a strong odor. Choose a low-odor product if you’re sensitive to smells or working in a poorly ventilated area.
- Application Method: Consider the ease of application. Some removers require special applicators or tools.
- Dwell Time: Check the recommended dwell time, which is the amount of time the remover needs to sit on the silicone before it can be removed.
Safety Precautions
When working with solvents and sharp tools, it’s essential to take safety precautions to protect yourself from injury and chemical exposure.
- Wear Safety Glasses and Gloves: Protect your eyes and skin from chemicals and sharp objects.
- Work in a Well-Ventilated Area: Solvents can release harmful fumes. Ensure adequate ventilation to avoid inhaling them.
- Follow Manufacturer’s Instructions: Read and follow the manufacturer’s instructions for all products.
- Store Chemicals Properly: Store chemicals in a safe place, away from children and pets.
- Dispose of Waste Properly: Dispose of used cloths and solvents according to local regulations.
Troubleshooting Common Issues
Even with the best techniques, you may encounter some challenges when removing silicone. Here are some common issues and how to address them:
- Silicone is Too Hard to Scrape: Apply more heat or solvent to soften the silicone.
- Residue Remains After Cleaning: Repeat the solvent application and wiping process. Consider using a stronger silicone remover.
- Surface is Damaged: If you’ve damaged the surface, try to repair it with a matching paint or sealant.
- Solvent is Not Working: Try a different solvent or a commercially available silicone remover.
Conclusion
Removing silicone can be a challenging task, but with the right tools, techniques, and patience, you can successfully clean off silicone from various surfaces. By following the steps outlined in this guide, you can achieve a clean and professional result without damaging the underlying material. Remember to always prioritize safety and take the necessary precautions when working with solvents and sharp tools. Knowing how to clean off silicone is a valuable skill for any homeowner or DIY enthusiast, ensuring that your projects look their best and your surfaces remain in pristine condition. Practice and careful application of these techniques will make the process of how to clean off silicone much easier. [See also: How to Remove Caulk from a Bathtub] Consider the type of surface and the age of the silicone when deciding on the best approach. With a little effort, you’ll be able to clean off silicone like a pro.
