How to Repair a Rusty Fender: A Comprehensive Guide
Rust on a vehicle’s fender is more than just an eyesore; it’s a sign of corrosion that, if left unattended, can compromise the structural integrity of your car. A rusty fender not only diminishes the vehicle’s aesthetic appeal but also reduces its resale value. Addressing rust promptly is crucial for maintaining your vehicle’s longevity and appearance. This guide provides a step-by-step approach on how to repair a rusty fender, ensuring a professional-quality finish even for DIY enthusiasts. Whether you’re dealing with minor surface rust or more significant corrosion, understanding the process is the first step toward restoring your fender to its original condition.
Assessing the Damage
Before diving into the repair process, a thorough assessment of the rust damage is essential. This involves identifying the extent and severity of the corrosion. Surface rust, characterized by a light orange or brown discoloration, is often the easiest to treat. However, more profound rust, which may involve bubbling paint or holes in the metal, requires more extensive repairs. Determining the scope of the damage will dictate the tools, materials, and time required for the project. It’s also crucial to check for rust on the inner side of the fender, as this area is often more susceptible to corrosion due to exposure to moisture and road debris.
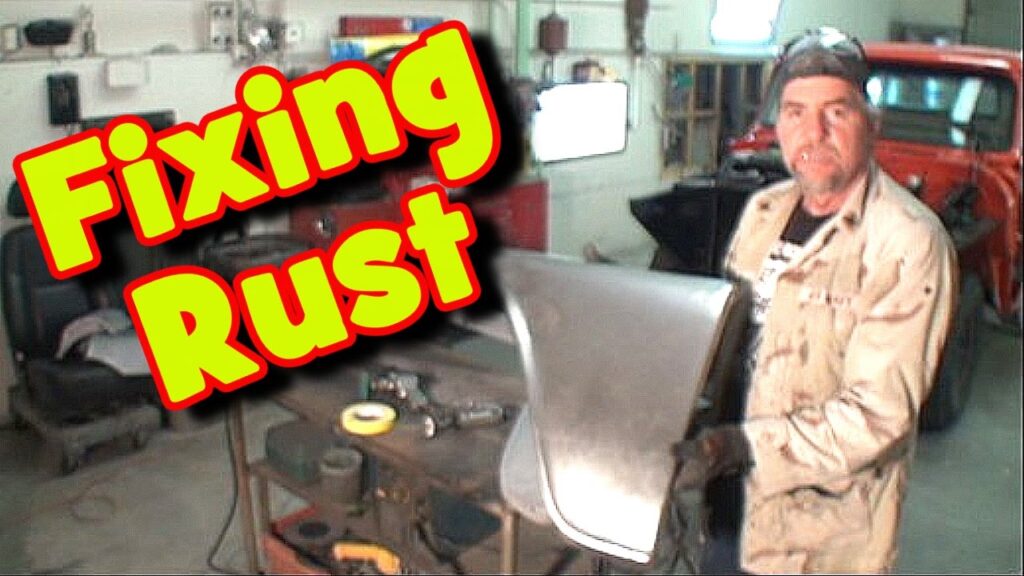
Tools and Materials You’ll Need
Having the right tools and materials on hand is critical for a successful fender repair. Here’s a comprehensive list:
- Safety Glasses and Gloves: Protecting yourself is paramount.
- Wire Brush or Grinder: For removing loose rust.
- Sandpaper (various grits): Coarse grit for initial rust removal, finer grits for smoothing.
- Rust Converter: To neutralize remaining rust.
- Body Filler (Bondo): For filling in holes and imperfections.
- Putty Knife or Spreader: For applying body filler.
- Primer: To prepare the surface for paint.
- Automotive Paint: Matching your vehicle’s color code.
- Clear Coat: For added protection and shine.
- Masking Tape and Paper: To protect surrounding areas.
- Tack Cloth: For removing dust and debris.
- Wax and Grease Remover: For cleaning the surface.
- Spray Gun or Aerosol Cans: For applying primer, paint, and clear coat.
Step-by-Step Guide to Repairing a Rusty Fender
Now, let’s delve into the detailed steps on how to repair a rusty fender. This process involves several stages, from removing the rust to applying the final coat of paint.
Step 1: Preparing the Area
Begin by cleaning the fender thoroughly with soap and water to remove any dirt, grease, or contaminants. Once clean, dry the area completely. Use masking tape and paper to protect the surrounding areas from overspray and accidental damage. This step is crucial for achieving a professional-looking finish.
Step 2: Removing the Rust
Using a wire brush or grinder, remove as much of the loose rust as possible. For stubborn rust, a grinder with a sanding disc may be necessary. Be careful not to damage the surrounding metal. Once the loose rust is removed, use sandpaper to smooth the area and feather the edges of the remaining rust. Start with a coarser grit (e.g., 80-grit) and gradually move to finer grits (e.g., 220-grit) to create a smooth surface. Ensuring all the rust is removed is a key component of learning how to repair a rusty fender correctly.
Step 3: Applying Rust Converter
Apply a rust converter to the affected area. Rust converter neutralizes any remaining rust and creates a protective barrier that prevents further corrosion. Follow the manufacturer’s instructions for application and drying time. This step is crucial for long-term rust prevention. Let the converter dry completely before proceeding.
Step 4: Applying Body Filler
If the rust has created holes or significant imperfections, body filler (Bondo) will be needed. Mix the body filler according to the manufacturer’s instructions, adding the hardener in the correct ratio. Apply the filler to the damaged area using a putty knife or spreader. Work quickly, as body filler hardens rapidly. Overfill the area slightly to allow for sanding. After the filler has hardened completely, use sandpaper to shape it to the contour of the fender. Start with a coarser grit (e.g., 80-grit) and gradually move to finer grits (e.g., 220-grit) to achieve a smooth, even surface.
Step 5: Sanding and Smoothing
Once the body filler is shaped, sand the entire area with progressively finer grits of sandpaper. This step is crucial for creating a smooth surface that will accept primer and paint. Use a sanding block to ensure even pressure and prevent gouging. Feather the edges of the repaired area into the surrounding paint to create a seamless transition. Remove all dust and debris with a tack cloth before proceeding.
Step 6: Applying Primer
Apply several thin coats of primer to the repaired area, allowing each coat to dry completely before applying the next. Primer provides a uniform surface for the paint to adhere to and helps to prevent rust from reappearing. Use a spray gun or aerosol can to apply the primer in smooth, even strokes. After the primer has dried, lightly sand it with fine-grit sandpaper (e.g., 400-grit) to remove any imperfections. Clean the surface with a tack cloth before proceeding.
Step 7: Painting the Fender
Apply several thin coats of automotive paint to the primed area, allowing each coat to dry completely before applying the next. Use a spray gun or aerosol can to apply the paint in smooth, even strokes. Overlap each stroke slightly to ensure complete coverage. Matching the paint color to your vehicle’s color code is essential for a seamless repair. Consult your vehicle’s manual or a local auto parts store to find the correct color code. After the paint has dried, inspect the surface for any imperfections and correct them as needed.
Step 8: Applying Clear Coat
Apply several thin coats of clear coat to the painted area, allowing each coat to dry completely before applying the next. Clear coat provides added protection and shine to the paint. Use a spray gun or aerosol can to apply the clear coat in smooth, even strokes. Overlap each stroke slightly to ensure complete coverage. After the clear coat has dried, inspect the surface for any imperfections and correct them as needed. [See also: Car Detailing Tips for Beginners]
Step 9: Polishing and Buffing
After the clear coat has dried completely (typically 24-48 hours), polish and buff the repaired area to remove any imperfections and enhance the shine. Use a polishing compound and a buffing pad to smooth the surface and remove any swirl marks. This step is crucial for achieving a professional-looking finish. Apply wax to protect the paint and clear coat from the elements. This final step is what separates a good how to repair a rusty fender job from a great one.
Preventing Future Rust
Once you’ve successfully repaired your rusty fender, taking steps to prevent future rust is essential. Regular washing and waxing can help protect your vehicle’s paint from the elements. Applying a rust inhibitor to the undercarriage and other vulnerable areas can also help to prevent corrosion. Additionally, promptly addressing any chips or scratches in the paint can prevent rust from forming. Regularly inspecting your vehicle for signs of rust can help you catch problems early and prevent them from becoming more severe. Learning how to repair a rusty fender is helpful, but prevention is key.
Professional vs. DIY Repair
While this guide provides a comprehensive overview of how to repair a rusty fender, deciding whether to tackle the project yourself or hire a professional is essential. DIY repair can be a cost-effective option for minor rust damage. However, more extensive corrosion may require specialized tools and expertise. A professional body shop can ensure a high-quality repair that matches your vehicle’s original finish. Consider your skill level, available tools, and the extent of the damage when making your decision. If you’re unsure, consulting with a professional can help you determine the best course of action.
Cost Considerations
The cost of repairing a rusty fender can vary depending on the extent of the damage and whether you choose to DIY or hire a professional. DIY repair typically costs less, as you only need to purchase the necessary tools and materials. However, professional repair can be more expensive, as it includes labor costs. Get estimates from several body shops to compare prices and services before making a decision. Remember that a high-quality repair can help maintain your vehicle’s value and prevent further damage.
Conclusion
Repairing a rusty fender is a manageable task with the right tools, materials, and knowledge. By following this comprehensive guide on how to repair a rusty fender, you can restore your vehicle’s appearance and protect it from further corrosion. Whether you choose to DIY or hire a professional, addressing rust promptly is crucial for maintaining your vehicle’s longevity and value. Remember to take preventative measures to avoid future rust and keep your vehicle looking its best. Addressing a rusty fender promptly is a key part of vehicle maintenance. The steps in this guide are intended to help you understand how to repair a rusty fender effectively. This method of how to repair a rusty fender ensures a lasting result. Many owners choose this method of how to repair a rusty fender due to its cost effectiveness. Understanding how to repair a rusty fender can save you money. If you follow these steps on how to repair a rusty fender, you’ll see great results. Knowing how to repair a rusty fender allows you to maintain your car’s appearance. This is the best method for how to repair a rusty fender for most car owners. When learning how to repair a rusty fender, safety should always be your first concern. Mastering how to repair a rusty fender is a valuable skill for any car owner. With practice, how to repair a rusty fender becomes easier and faster. The process of how to repair a rusty fender may seem daunting at first, but it’s achievable with patience. Properly executing how to repair a rusty fender will preserve your car’s value.
